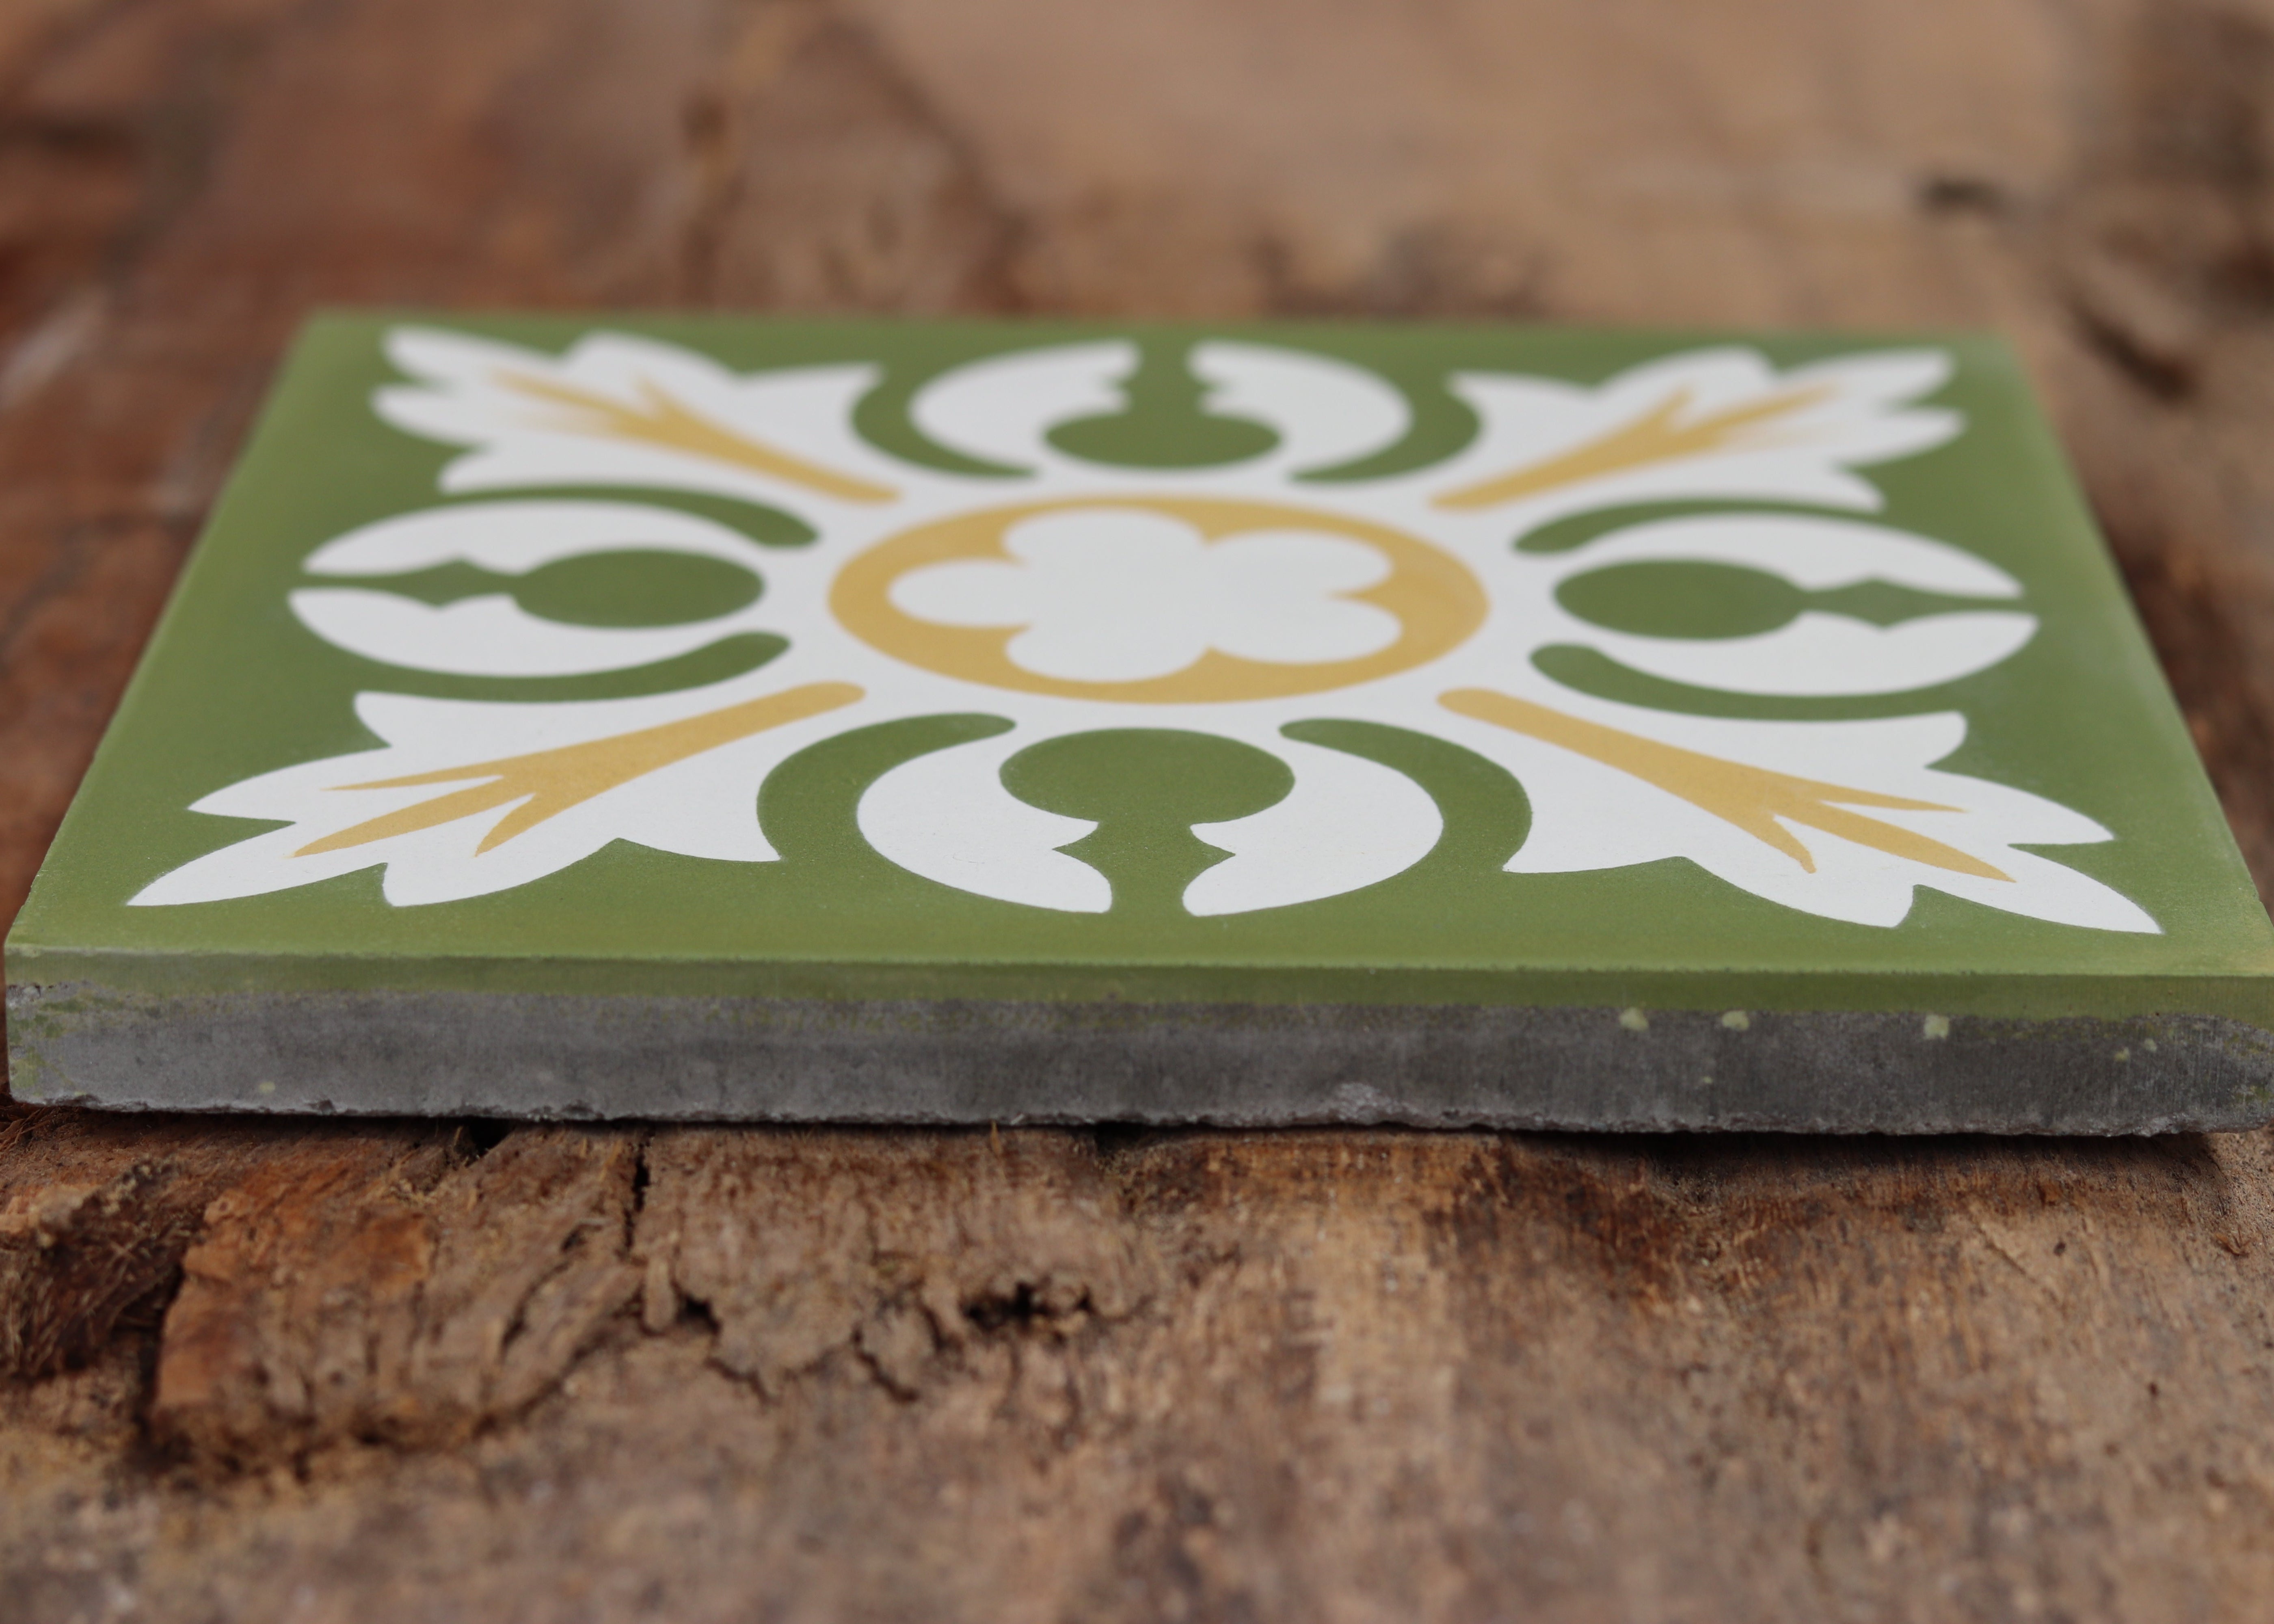
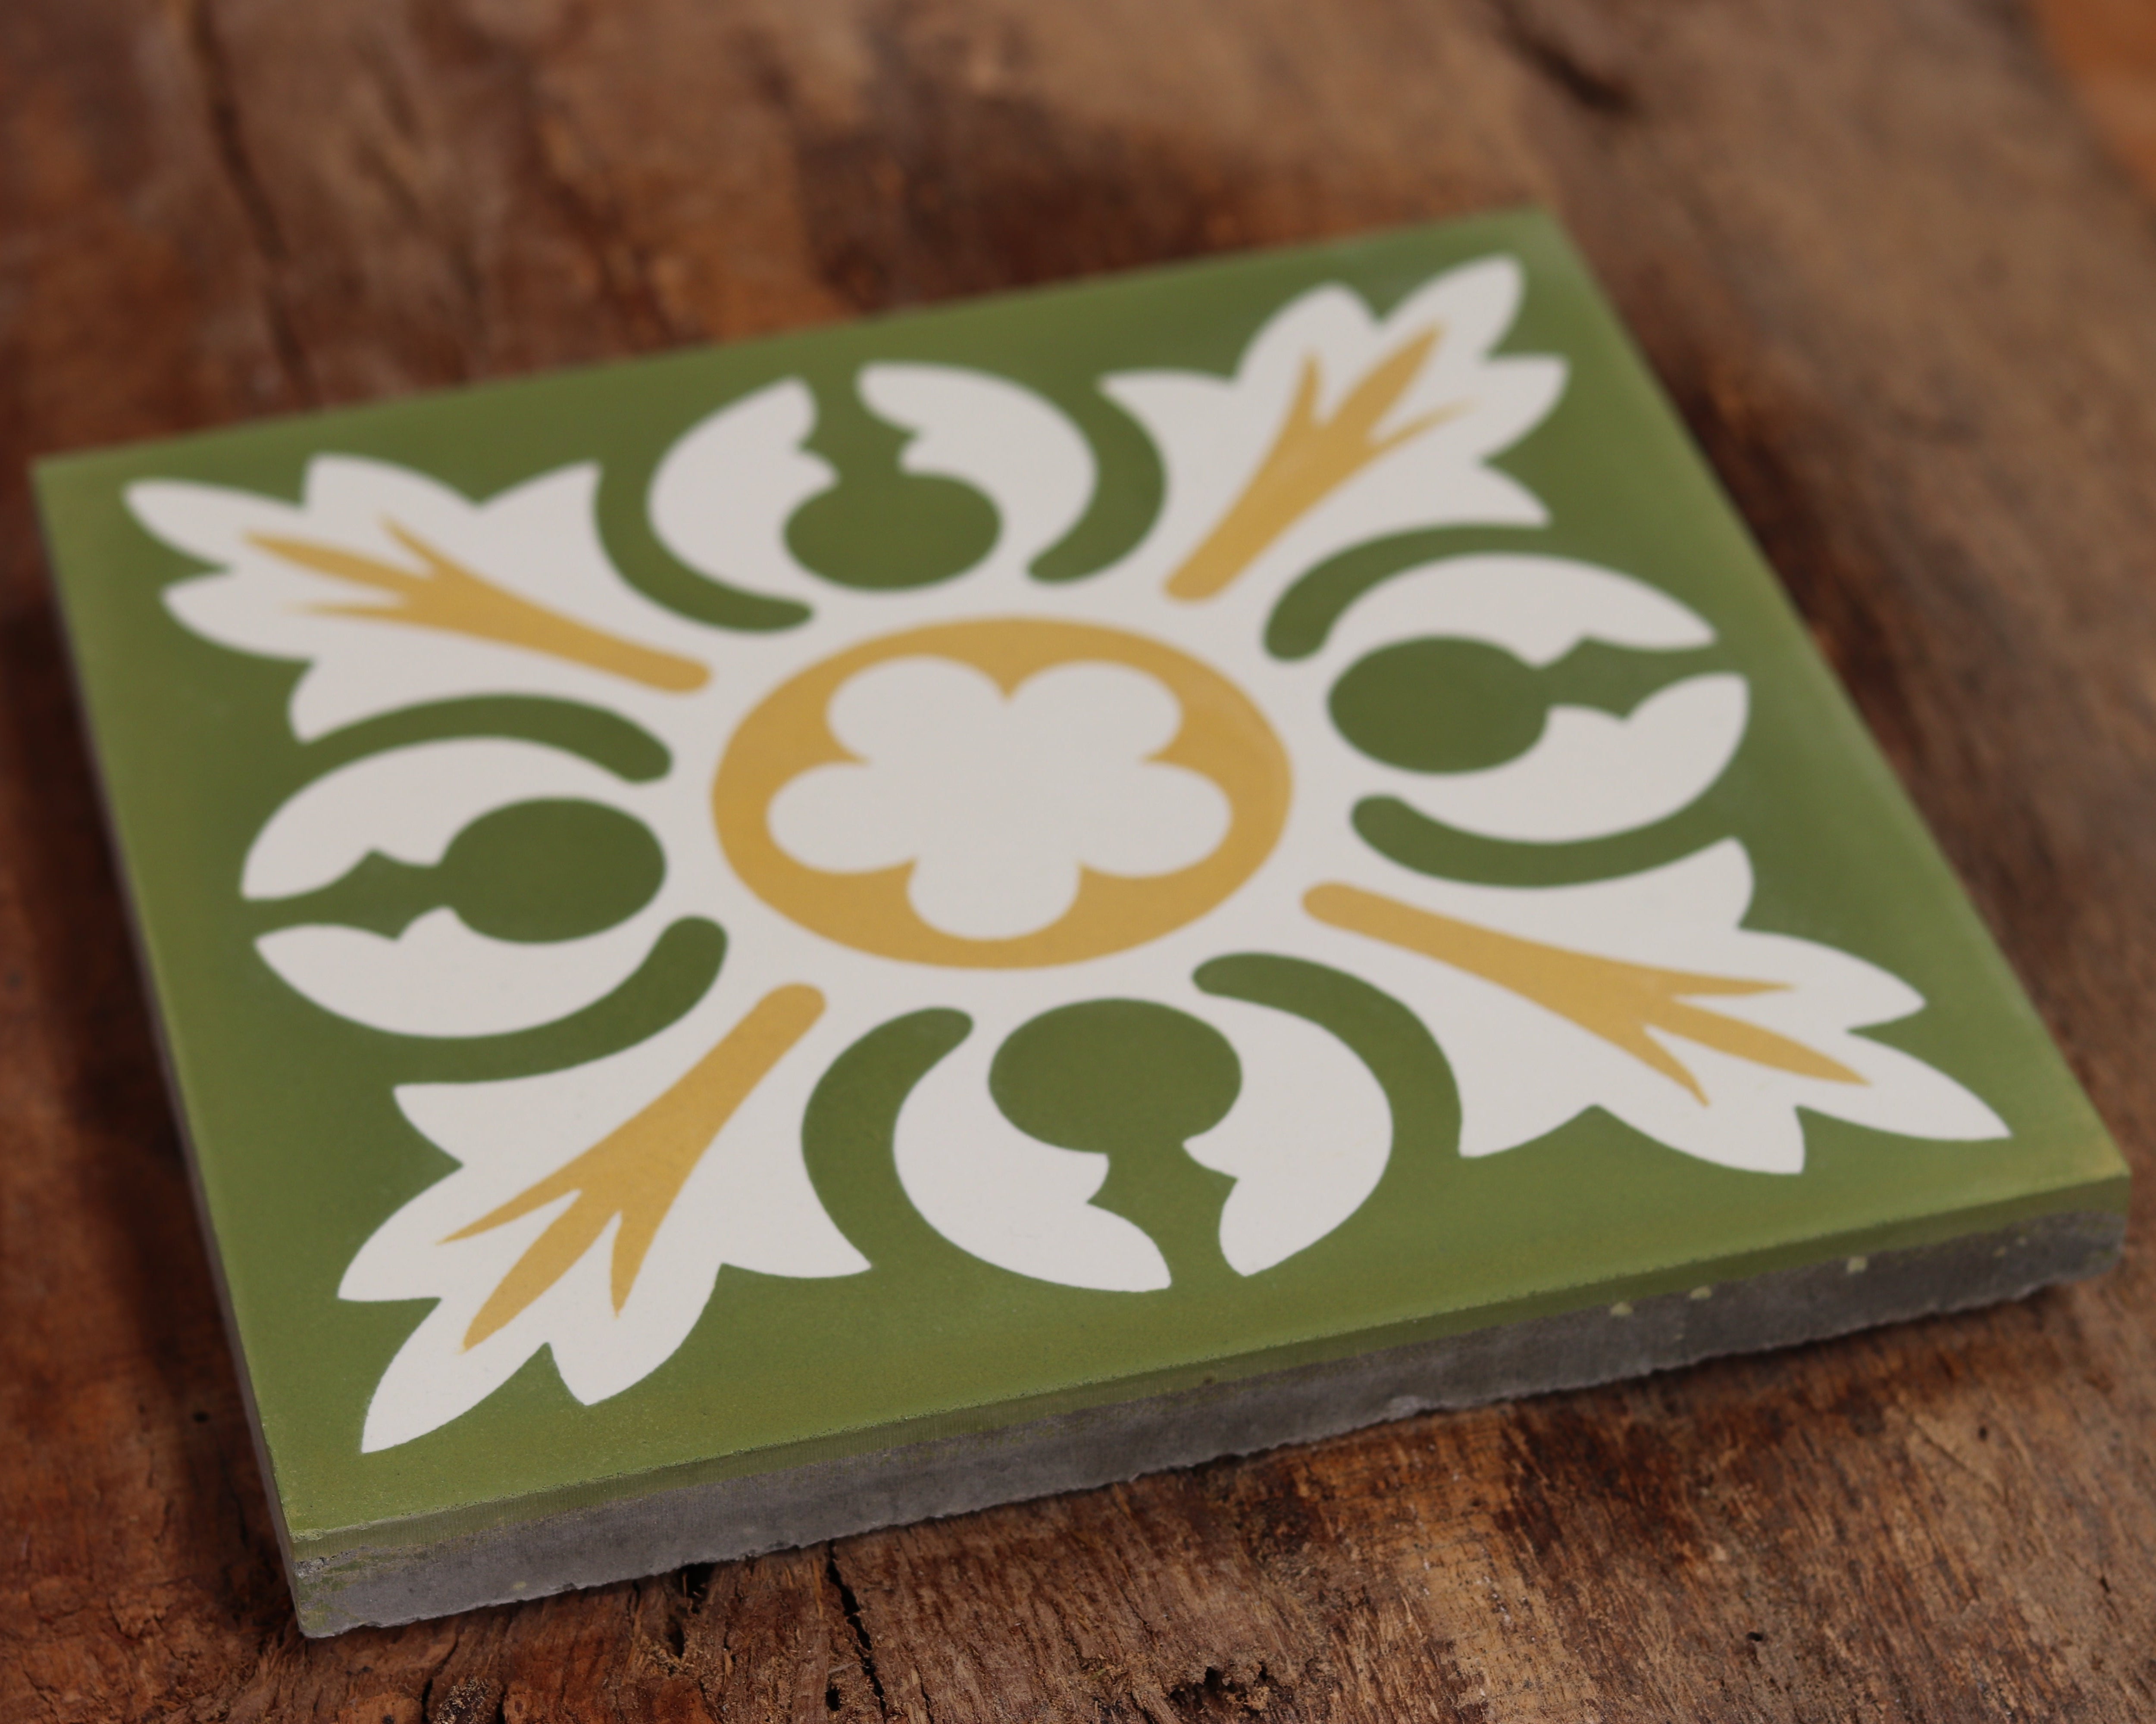
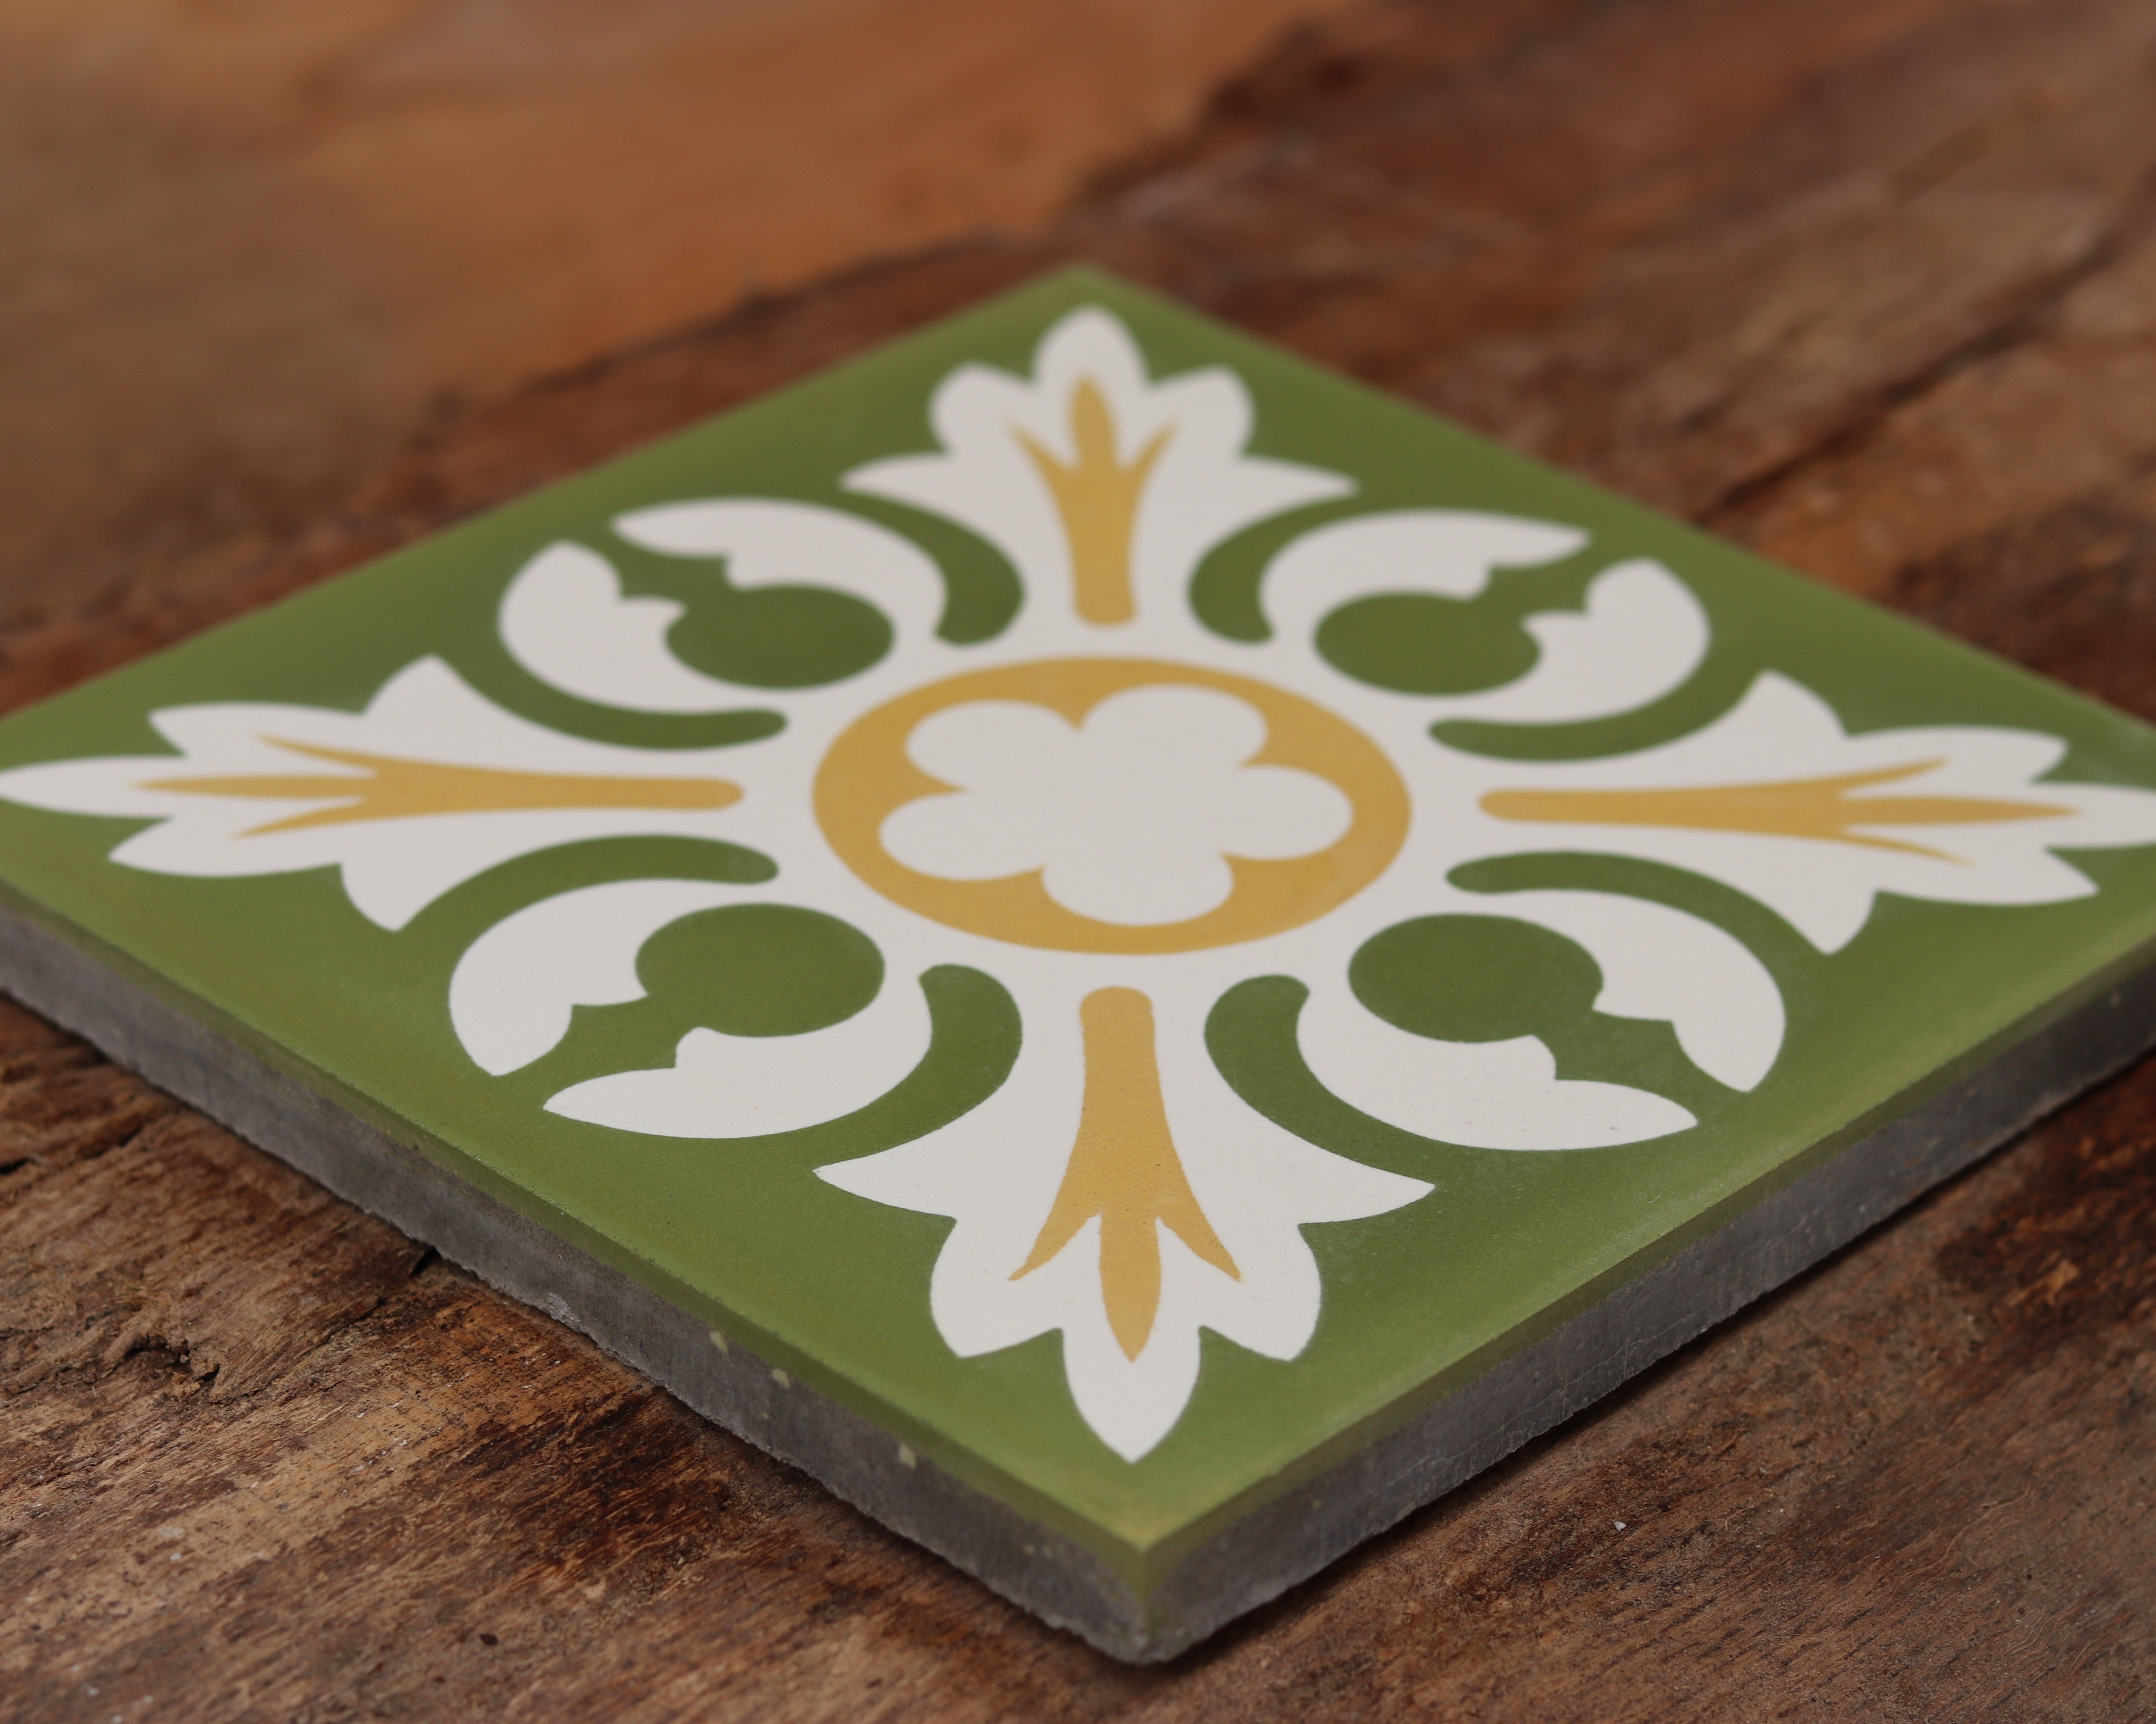
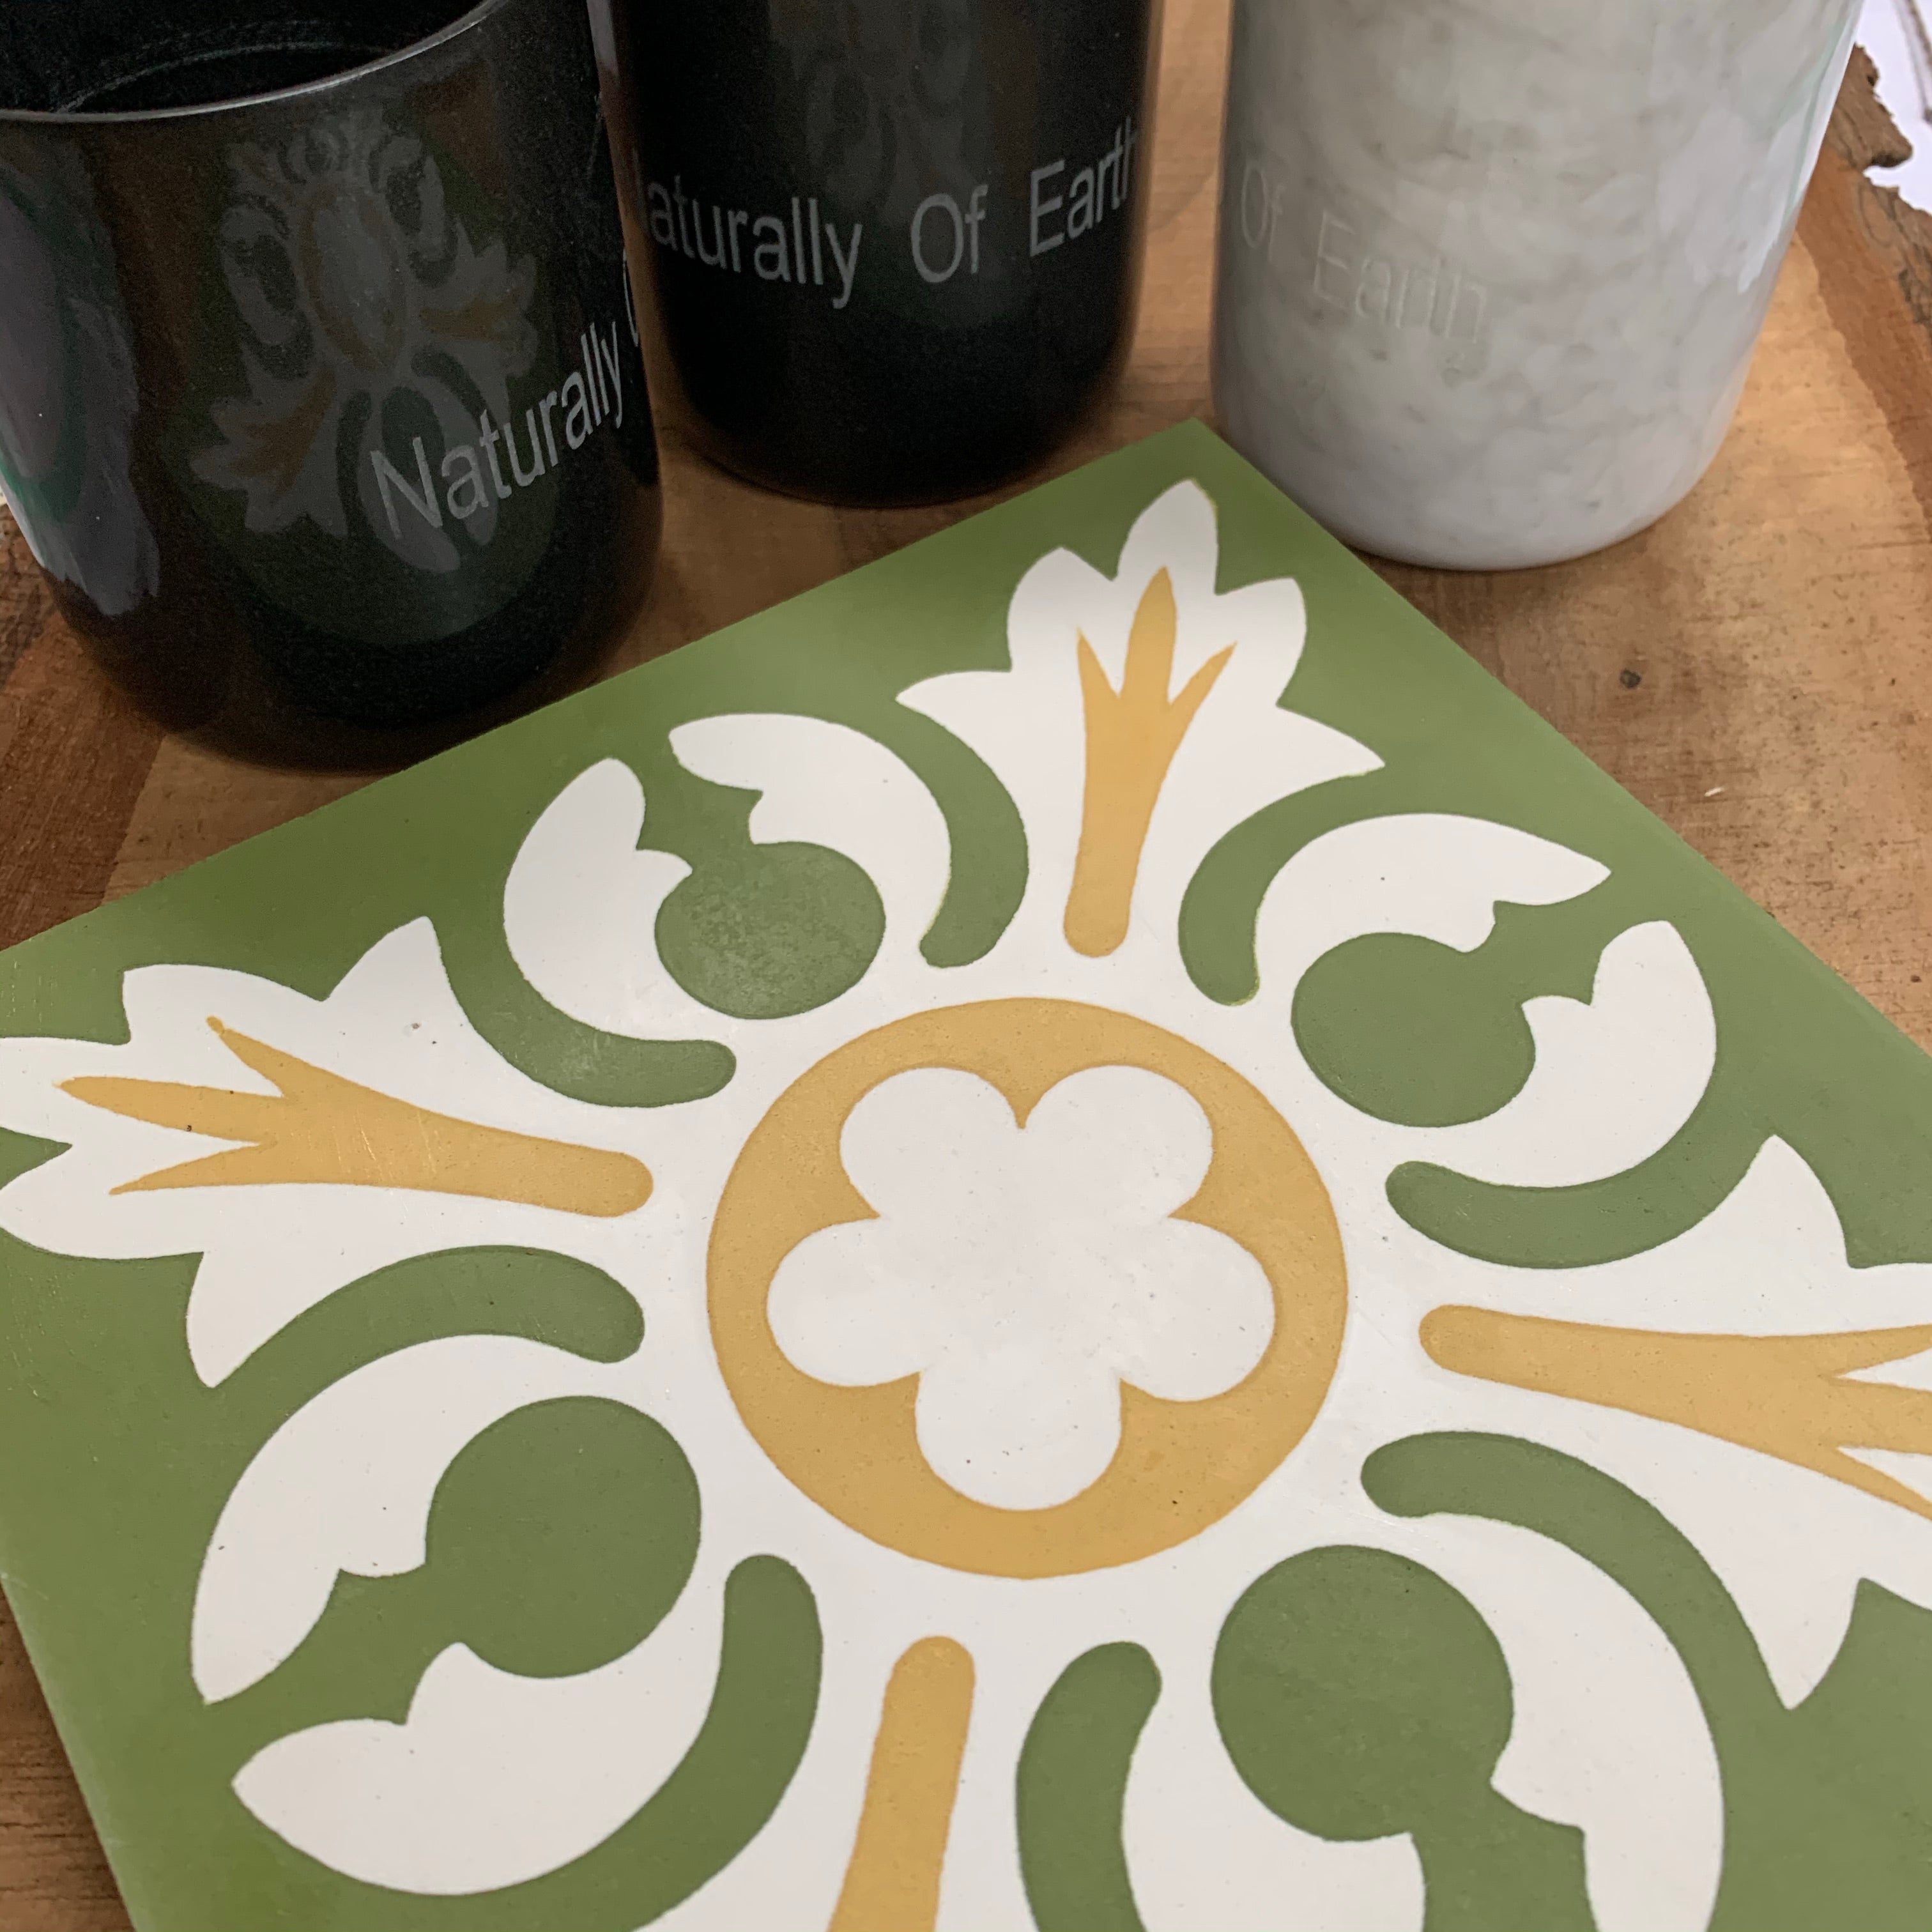
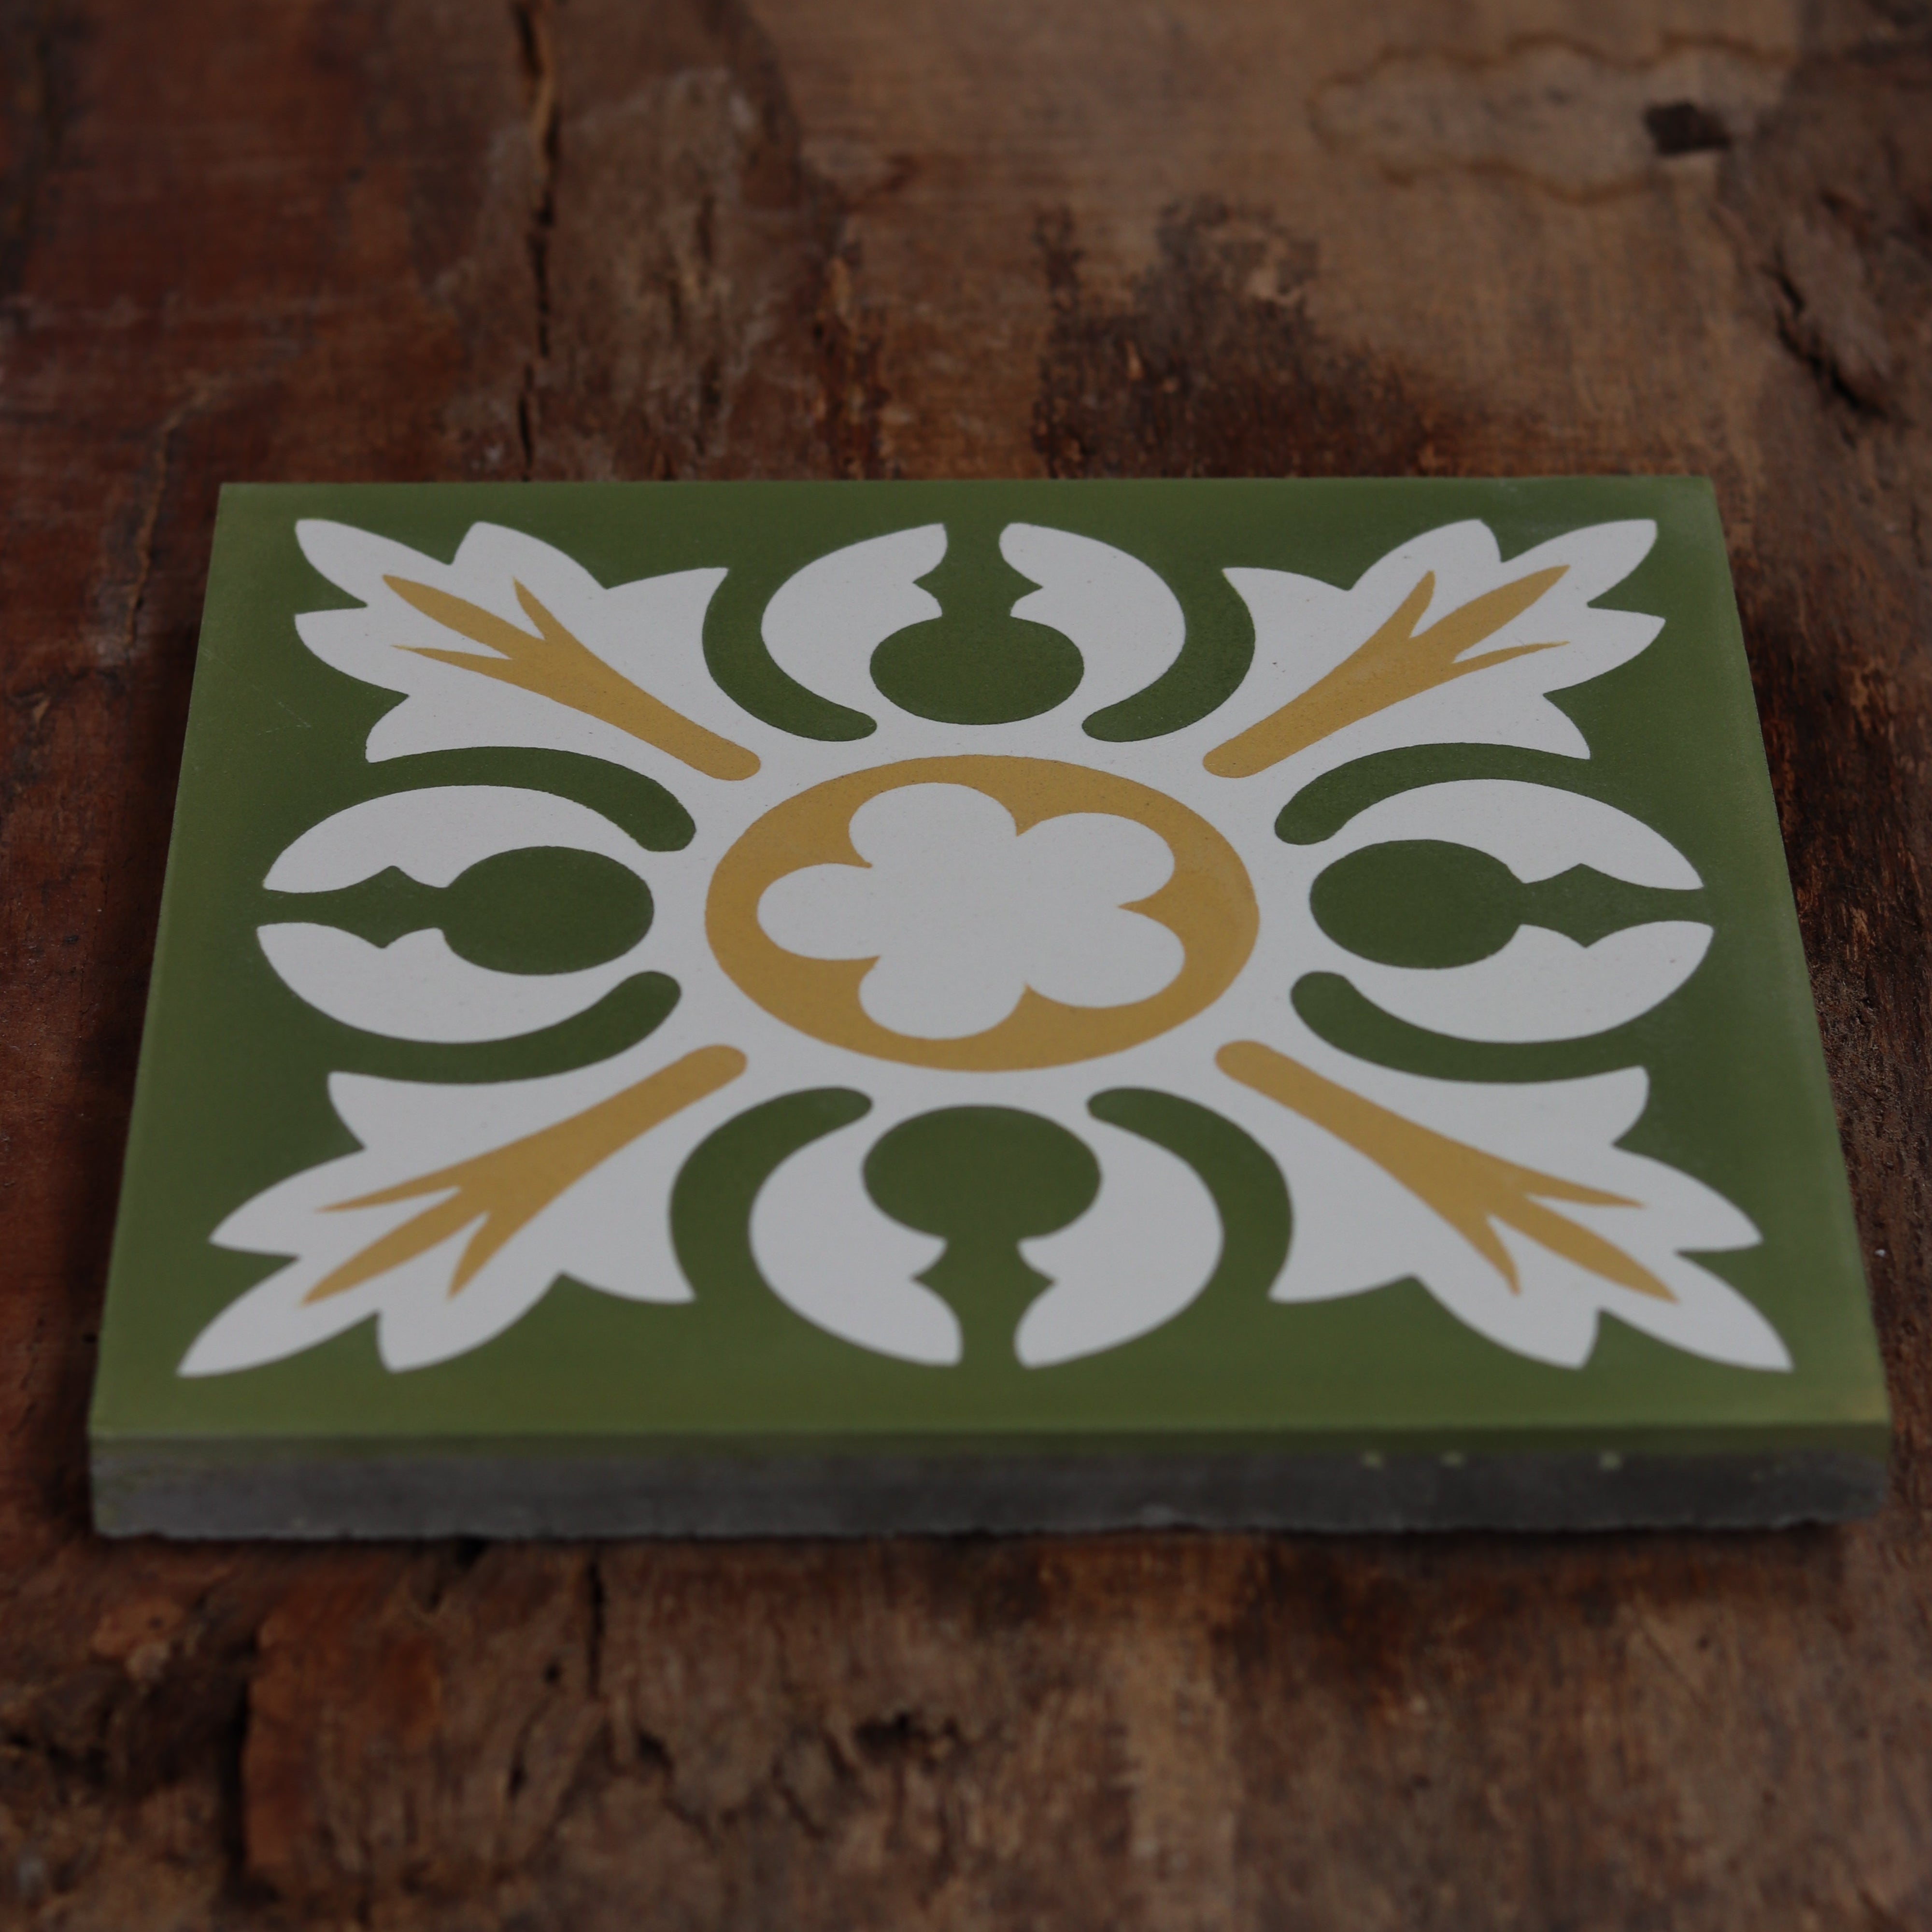
Verdant Rosette | Green Floral Encaustic Cement Tile
Verdant Rosette is a traditional green floral encaustic cement tile inspired by the enduring elegance of Victorian and Edwardian interiors. At its centre lies a refined botanical rosette motif, arranged in a symmetrical pattern that evokes the grandeur of period hallways and classic manor house floors. The rich verdant tones bring depth and character, offering a sophisticated alternative to flat contemporary finishes.
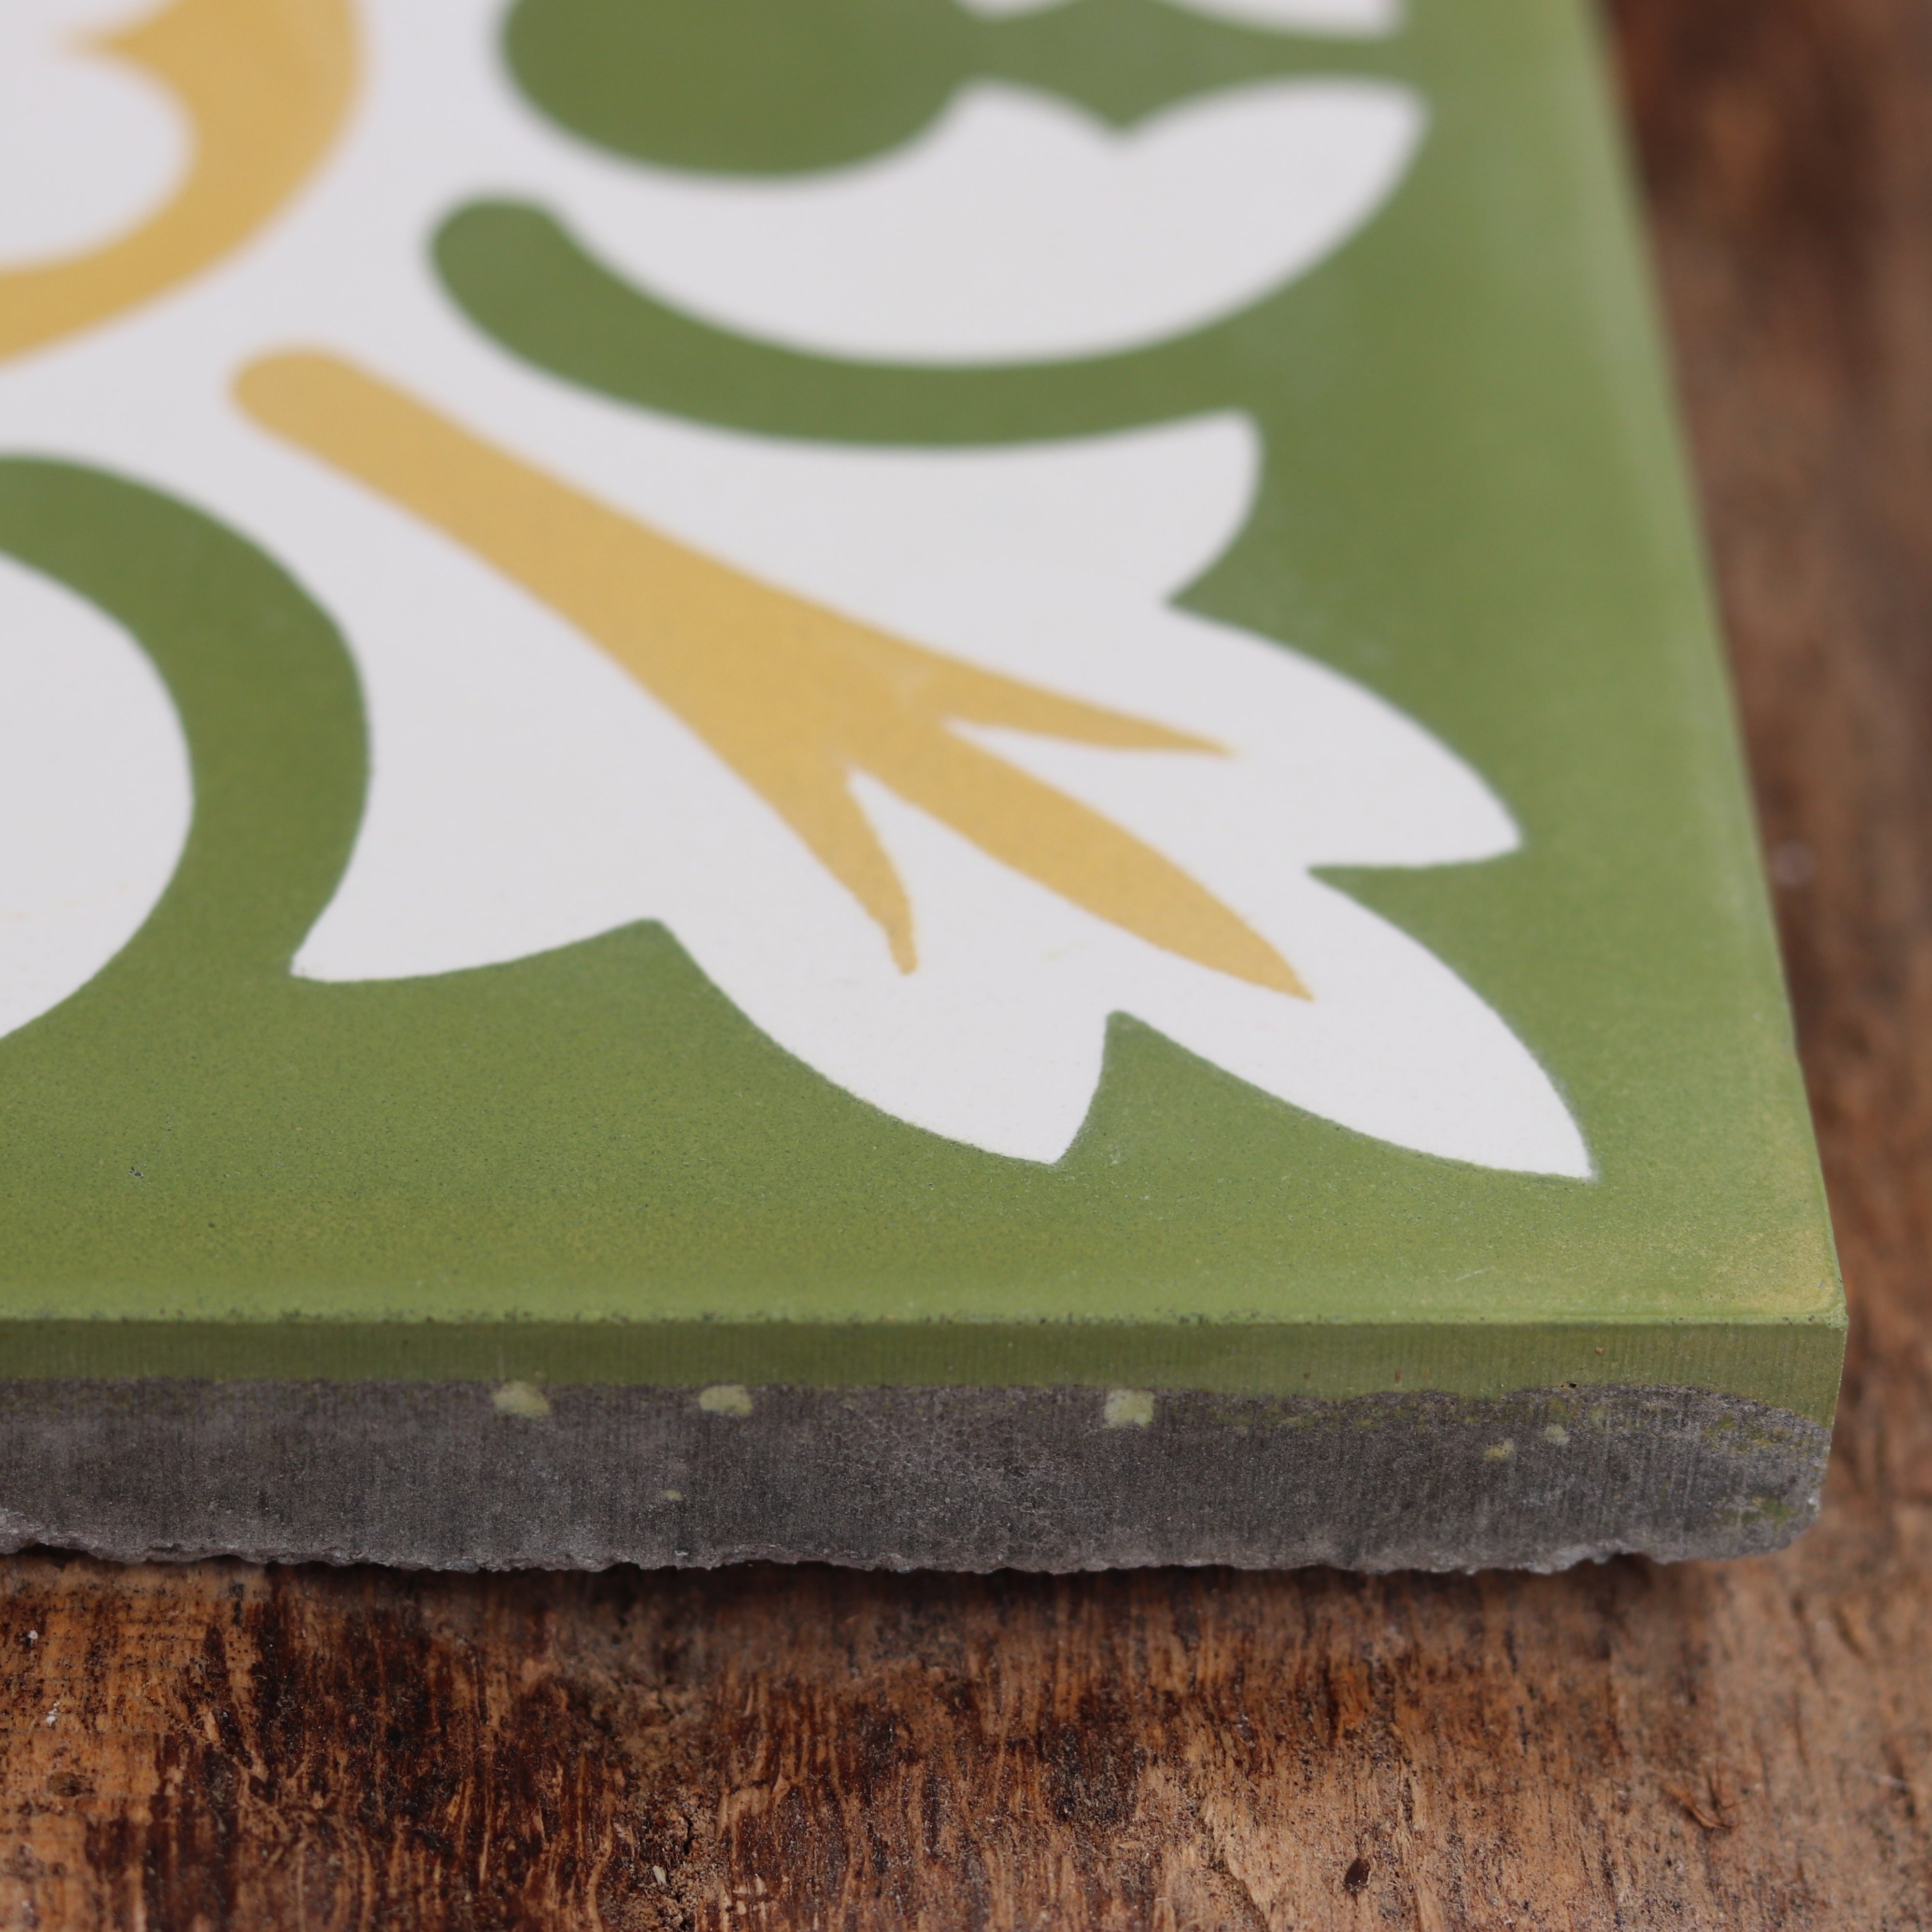
Handcrafted using time-honoured encaustic techniques, each tile is formed from layers of pigmented cement rather than surface-printed glaze. This ensures the pattern runs through the body of the tile, giving Verdant Rosette its distinctive matt finish, natural variation and long-lasting colour integrity. The result is an authentic encaustic tile with subtle tonal movement that softens beautifully over time.
Designed for both floors and walls, this green floral encaustic tile is particularly suited to hallway flooring, kitchen floors, cloakrooms and bathroom renovations where heritage detail is desired. It pairs effortlessly with shaker cabinetry, marble surfaces, traditional joinery and brass fittings, making it ideal for period properties and character-led interiors.
Beyond its decorative appeal, Verdant Rosette is a durable cement tile suitable for high-traffic areas within the home. When properly sealed and maintained, encaustic cement tiles develop a gentle patina that enhances their old-world charm while retaining structural integrity.
Whether used as a full floor covering or framed as a feature panel, Verdant Rosette offers timeless pattern, traditional craftsmanship and refined botanical detail — a true heirloom design for classic British interiors.
20 x 20cm -Minimum order 3-SQM.
PLEASE NOTE TO ORDER A FREE SAMPLE JUST CONTACT US WITH YOUR ADDRESS AND CONTACT DETAILS.
Installation 1. The installation of cement tiles is a simple and quick process. The tiles need to be placed on a perfectly levelled and clean surface, therefore prepare the concrete slab before and let it dry completely before placing the cement tiles. Never lay them onto the fresh concrete. It is important that the surface where you place the tiles is completely dry, otherwise the moisture will evaporate through the tiles, leading to composition of saltpetre deposits in form of white stains. 2. Leaving a space between the end of the floor and the wall is recommended, just enough so that the skirting covers this small space. In that way we will avoid having breakage problems due to structural movements of the building. 3. When the layer is dry, spread the tile adhesive on the back of the tile and the floor using the rake comb with fine tooth spacing (double spread of adhesive, also called “buttering”), in order to improve adhesion and prevent creating any empty spaces that may result in unsticking of the slab in the future. 4. The tiles need to be placed manually, one by one, without using a hammer or any other tool. The precision is required, as the tiles cannot be polished down like other materials. 5. The separation between tiles should be minimal, 1 to 2 mm, respecting the alignment for a good finish of the drawing. 6. When the installation is finished and the adhesive is dry, clean the surface with plenty of water to remove the thin layer of pigmented powder that covers the tiles.
Treatment For all of the treatments of cement tiles at Naturally Of Earth we recommend Fila products: 1. During the installation phase before grouting, apply an impregnating sealant (Fila MP90 Eco Xtreme) to the tiles with a soft cloth or brush. Allow at least two hours between coats. This product should be generously applied. 2. After one hour rub over the surface with a soft fluff free cloth to obtain a uniform finish and remove any excess sealer. 3. The aim is to completely fill the substrate with sealer without over applying it. The sealer will dry after two hours, but will take a further three days to become fully resistant.
Grouting 1. Before grouting apply an impregnating sealant to the tiles, this is so that the grout residues do not get deeply adhered to the tiles’ layer of pigments and these can be removed easily. 2. For the grouting do not use dyed grout. The pigments could leave irreversible stains in the slab. 3. Use a spatula to fill the spaces between the tiles. Do not put grout above the level of the tiles. If there is any excess grout, remove it immediately using a damp cloth. 4. Do not use any acidic or corrosive products to remove the excess or clean the stains of the grout.
Choose options